
Getting started
Go from your first website preview to an assistant ready to publish.
Screenshots use fictional Example.com workspaces and sample content. Your content and plan may differ.1. Try your website
Start on the WebotX homepage with your public website URL. Wait for the selected pages to finish processing, then ask about information actually present on those pages. Try a product question, a policy question, and a question the website cannot answer.
2. Create an account and workspace
Open the dashboard and sign up with your name and email address, accepting the terms. Enter the one-time code sent to your email. Returning users sign in with an email code too.
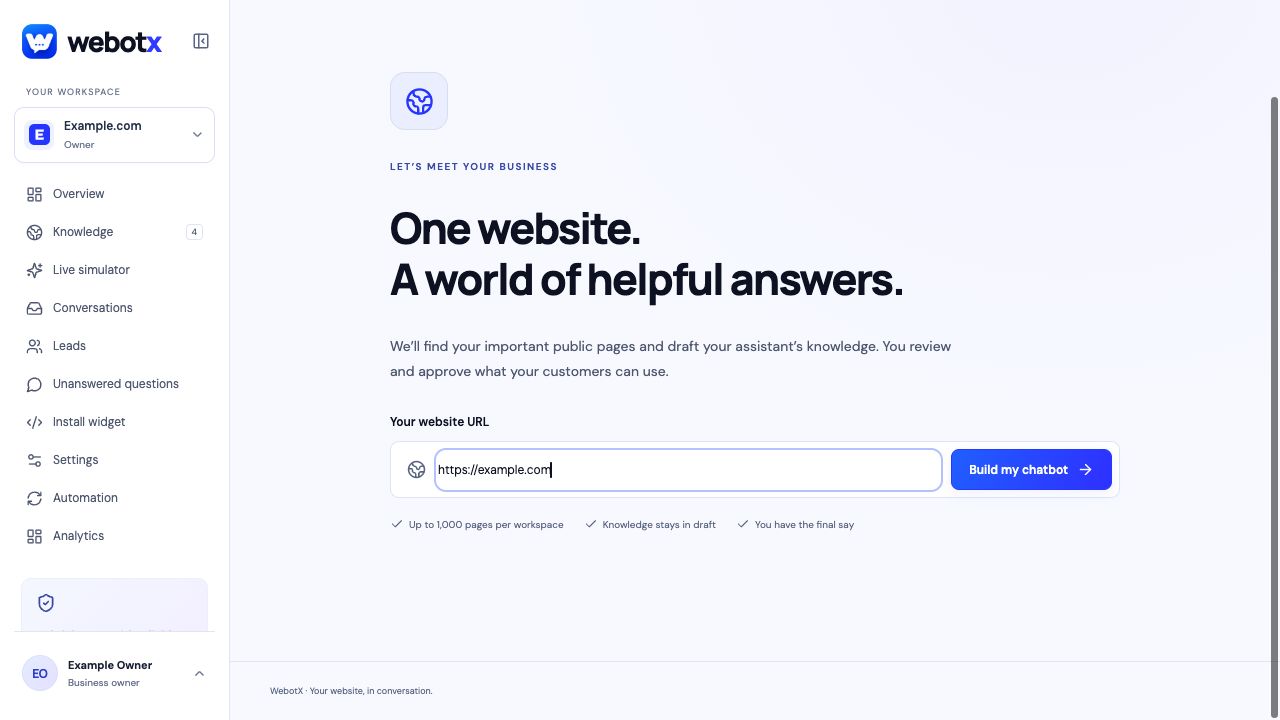
Add your website to create its workspace. A workspace contains one website; use a separate workspace for another website, within your account's allowance.
 View full size
3. Review your knowledge
Open Knowledge to check captured pages and their summaries. Correct outdated prices, policies, and business details before approving. Exclude pages you do not want used. Review and approve the business overview as well as at least one page.
4. Test and customize
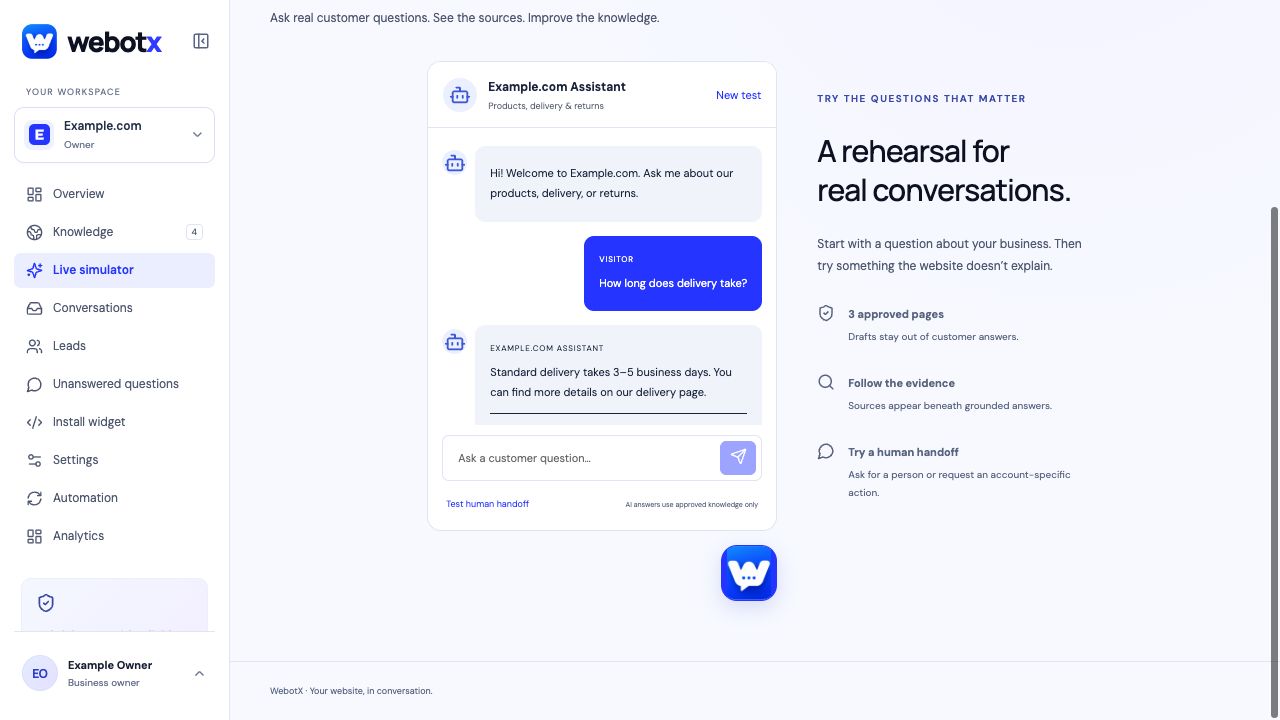
Use Live simulator to ask the questions customers are likely to ask. Check the answers and their sources. Test a missing fact and a request for a person to see how handoff behaves.
In Settings, customize the assistant's welcome message, suggested questions, tone, colors, avatar, and chatbox appearance. Save your changes.
 View full size
5. Publish and install
Open Install widget. Confirm the overview and page approval checks, publish your assistant, and save the exact origins where the widget should run. Copy the generated script into your website's shared layout or footer.
Test a published page as a visitor, then check the conversation in your dashboard. The installation guide explains origins and the script in more detail.